Short answer: South Florida pavers need a written paver maintenance calendar, not a vague “every so often” schedule — because the climate here works on them harder than almost anywhere in the country. The system is small once it’s on paper: a monthly walk-around, a quarterly rinse, an annual deep clean and inspection, a professional reseal every 2–3 years, and a hurricane-prep-plus-recovery loop from June through November. Everything below is that calendar, in the exact order we run it on our own driveways.
We’re licensed paver contractors (CILB #U-22487) based in Boca Raton, working across Palm Beach and Broward County. The customers whose surfaces still look right at year ten aren’t the ones who spent the most on installation — they’re the ones who put maintenance on a calendar and stuck to it. Here’s the version we hand out.
Why South Florida Pavers Need a Written Paver Maintenance Calendar
Elsewhere in the country, “paver maintenance” is a summer weekend project people remember when the driveway starts looking rough. In South Florida that approach loses you thousands of dollars of surface every decade. Three environmental forces compress the timeline:
UV Index 11+, most of the year. Sunlight chemically degrades sealer resins the same way it fades paver pigment. A sealer that survives four Michigan summers gets the equivalent radiation dose in two Florida ones.
60+ inches of rain a year, much of it in violent bursts. Every storm mechanically works at the sealer, tests every joint, and hydraulically loads the base — roughly double the national average, delivered harder.
Humidity that never lets up. Moisture vapor pushes up through the pavers from the soil below all day, aging coatings from underneath even as UV attacks from above. It also gives algae, mildew, and mold year-round growing conditions.
Salt air adds a fourth force for coastal properties. Left to “I’ll get to it eventually,” a South Florida paver surface will noticeably decline in three years and need restoration in five. Kept on a written calendar, the same surface stays in installation-quality condition for a decade or more.
The full paver maintenance calendar breaks into five cadences: monthly, quarterly, annually, biennially (2–3 years), and every five years. Then we add the seasonal overlay — hurricane prep, hurricane recovery, and the dry-season sealing window — and the coastal-vs-inland adjustment.
Monthly Tasks (Year-Round)
The monthly cadence is the cheapest and most-skipped part of the calendar. It’s five to ten minutes and it prevents most of the damage the other cadences have to correct.
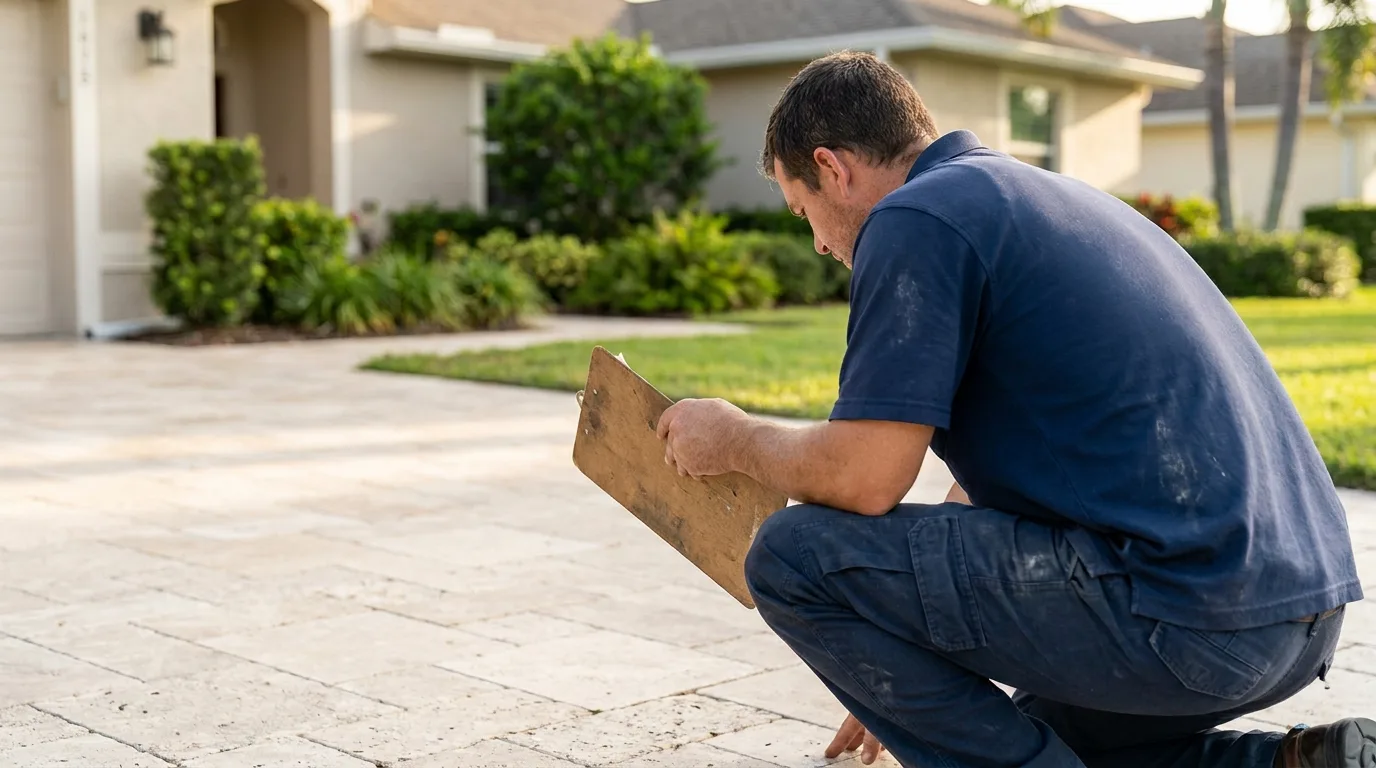
Walk-around visual check. Pick a consistent time — the first weekend of the month — and walk every paver surface. Look for four things: pavers that tilted, sunk, or shifted; visible cracking; joint sand that dropped below the chamfers; color patches that look flat compared to neighbors. Ninety percent of months there’s nothing. The month there is, catching it early keeps a $40 fix from becoming a $400 one.
Weed pull at edges and shaded joints. Weeds seed continuously here — there’s no dormant season. Pull the ones that appear while their roots are still shallow. This is a two-minute job monthly; skipped for a full summer, it becomes an afternoon of prying rooted weeds out with a screwdriver.
Sweep leaves off shaded pool decks and lanais. Wet leaves left on pavers do two things: they stain (tannin bleeds into the surface), and they feed the algae colonies that establish in shaded, damp joints. If leaves are actively falling — mango, oak, ficus — this may need to be weekly during peak drop. In sun-baked areas leaves don’t stick around long enough to matter, so we’re really talking about the shaded zones.
That’s the whole monthly list. DIY-friendly, no equipment beyond a broom and gloves.
Quarterly Tasks
Every three months, add a rinse cycle and a spot check.
Hose-rinse the driveway and pool deck. A garden hose or light wash for twenty minutes clears salt film (essential on the coast, still helpful inland), fertilizer dust from lawn service passes, iron mineral haze from irrigation, and the leading edge of any surface algae before it establishes. This one quarterly habit visibly extends sealer life — we can tell during assessments which customers do it and which don’t. Do not reach for a pressure washer here; low-pressure water and a stiff broom is the tool.
Spot-clean stains. On a sealed surface you have hours of grace after a spill instead of minutes, but the clock still runs. Once a quarter, look for anything you missed: oil dots from cars, rust from a lawn tool left overnight, fertilizer burn, sunscreen halos on the pool deck. Clean each with the appropriate cleaner (soap and water for most fresh stains; a paver-safe degreaser for oil; a rust remover for iron), rinse, done. Fresh stains on a sealed surface come out in minutes. The stains that require restoration-grade extraction are the ones that sat for a year.
Inspect joint sand levels. Walk the surface with a specific eye on the joints. On a well-installed job the polymeric sand should sit about an eighth of an inch below the top of the paver chamfer — flush with the chamfer’s shoulder. If you see joints dropping much lower than that, or bare joints where sand has washed out, note the location and the extent. Small isolated losses can wait for the annual re-sand. Widespread loss is a signal that the sealer’s grip on the joint sand has failed and the next reseal is coming due earlier than the calendar suggested.
Quarterly work is still comfortably DIY.
Annual Tasks
Once a year — we’d pick the tail end of the dry season, April or May, so the surface goes into the wet season fully protected — three deeper items.
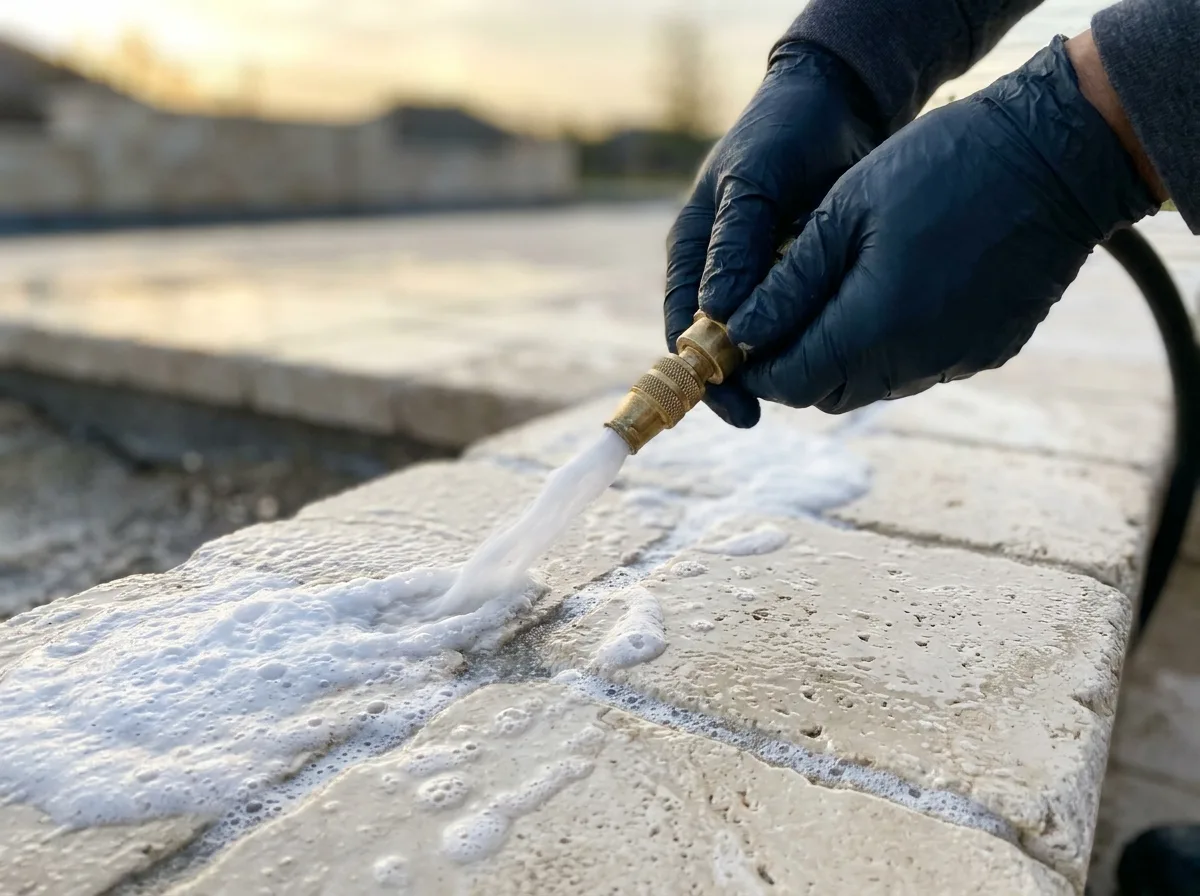
Deep clean the paver surface. This is a proper wash, not a hose rinse: a biodegradable paver cleaner appropriate to your surface (concrete, travertine, and clay each want different chemistry), applied with a pump sprayer, agitated with a stiff-bristle broom, and rinsed with a soft-wash setup — meaning low pressure, high volume. No spinning surface cleaner on rental pressure washers. The goal is to lift the year’s accumulated grime, biological film, and mineral deposits without stripping the sealer or blasting sand out of the joints. We do this before every reseal, and as a standalone annual service in years the reseal isn’t due — pricing runs a fraction of a reseal because there’s no sealer product cost. See our paver cleaning service for the full annual process.
Inspect all edge restraints. Edge restraints — the plastic or aluminum bender board that runs along the outside perimeter of the paver field, spiked into the base — are what keeps the whole surface from creeping outward under traffic and thermal expansion. When they fail (UV embrittlement, corrosion, spike heave), the outer row of pavers starts drifting, then the row inside that, until you have a gap at the edge and a sag on the interior. Walk the entire perimeter. Restraint should be flush with the top of the base, spikes should be seated, and pavers on the outer row should feel firm underfoot. Cracked or exposed restraint is a repair-before-reseal item.
Top up polymeric sand where needed. Any joint that dropped noticeably during the quarterly inspections gets fresh polymeric sand — full-strength product, not play sand. Correct application is a specific process: pavers must be bone dry, sand swept in and vibrated down until joints are full, excess brushed off completely (any grain left on the paver face bonds to it), then a controlled mist to activate the polymer binder. Get any of those steps wrong and the sand hazes the paver surface permanently. Small isolated joints are a careful DIY job. Widespread re-sanding across a whole driveway is where most homeowners call us — the difference between a good re-sand and a bad one is visible for the life of the surface. Our polymeric sand guide covers the process in detail.
Biennial: The Professional Reseal Cycle (Every 2–3 Years)
This is the big-ticket line item on the calendar, and getting the timing right is worth more than any other decision you make about your pavers.
Inland, quality breathable sealer: every 2–3 years. Coastal (within 2–3 miles of the ocean): every 18 months.
The reseal is a bundled service — deep clean, stain treatment, polymeric sand top-up, then two coats of a breathable marine-grade sealer applied in the dry season. Our paver sealing service starts at $1.10/sq ft including all of the above and a written warranty.
The trigger isn’t strictly the calendar — it’s the water absorption test. Pour a cup of water on a representative spot in year two (a sun-blasted section, or a tire path, not the shaded corner). If the water beads and sits on the surface, the sealer is still working; you can push the interval. If the water darkens the paver and soaks in within a minute or two, the sealer is done and every additional month is unprotected time. The full logic behind the schedule is in how often to seal pavers in Florida, and the by-product-type longevity breakdown is in how long paver sealer lasts.
This is not DIY. Applying sealer at the wrong dilution, wrong temperature, wrong humidity, or over damp pavers is how you get the “white bloom” failure that requires the whole surface to be chemically stripped and started over — and that’s a five-figure recovery on a driveway.
Every 5 Years: Full Restoration Check
Every fifth year, add one item that the annual inspection doesn’t cover: a base and drainage check.
Pavers sit on a compacted base of crushed rock and bedding sand. Over five to ten years of Florida rain and traffic, the base can settle or wash out in spots, the drainage grade can flatten, and bedding sand can migrate.
The check: probe with a screwdriver in any spot that ever pools water — a sudden drop of an inch or two suggests base washout. Then watch how water runs off during the next hard rain; it should flow off within minutes, not sit in puddles. Near any drain or edge, look for pavers now sitting lower than the surface they used to be flush with.
Any finding here is a signal for a professional lift-and-relay in the affected area. Small, isolated base repairs are inexpensive and preserve the rest of the field. Left alone, base problems eventually take out large sections — that’s when partial restoration becomes full replacement.
Seasonal Playbook: Hurricanes, Rain, and the Sealing Window
Florida’s calendar doesn’t rotate like the rest of the country’s, so the schedule has a seasonal overlay on top of the recurring cadences.
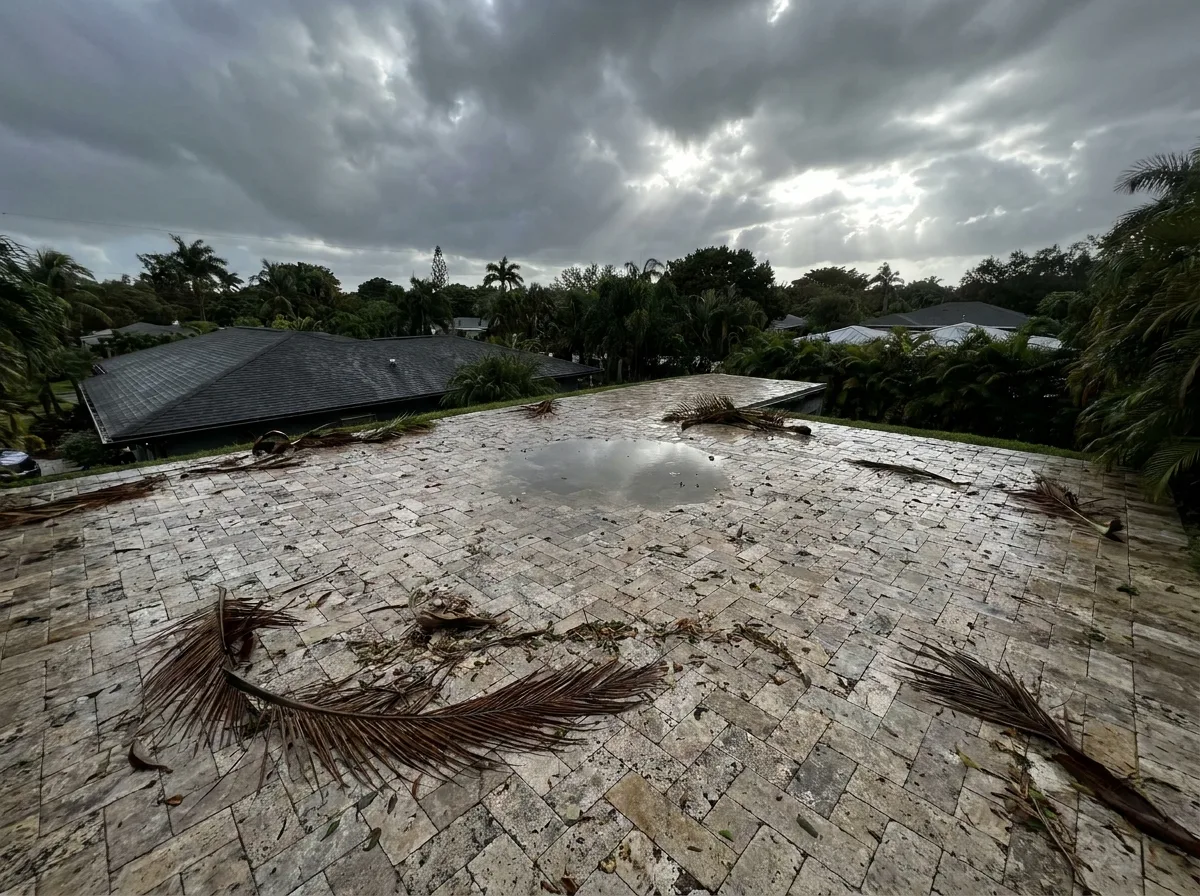
June through November — hurricane season. Before the season starts (late May, early June), do a proper walk-around and note any pre-existing issues so post-storm damage is distinguishable from pre-storm wear. Trim tree limbs that overhang paver surfaces — falling wood is the single biggest cause of storm damage to pavers we see, and it’s preventable. Make sure drains and downspouts are clear so heavy rain has somewhere to go.
After any named storm — once it’s safe outside — walk the surface. Rinse off salt spray if you’re within a couple miles of the coast. Look for sunken sections (base washout is the #1 storm damage mode), pavers that shifted, joint sand that visibly flushed out, and debris ground into the surface. Anything structural needs a professional assessment; you never want to seal over a shifted base. Cosmetic damage — sand loss, minor stains — can wait for the next annual or biennial visit.
October through May — the dry-season sealing window. All professional resealing and any base repair work should be scheduled in this window. Sealer needs a rain-free cure of 4–6 hours to become walkable and 24–48 hours to become drivable — guaranteeable in the dry months, roulette in the wet ones. Booking the reseal for October or November also means it lands after hurricane season, so any storm damage gets repaired first and the surface gets sealed once, correctly, on top of a known-good base.
Coastal vs. Inland: Two Different Calendars
Core cadences are the same, but coastal properties (within 2–3 miles of the ocean) run tighter intervals:
- Rinse: monthly rather than quarterly during dry, windy periods when salt film accumulates fast
- Deep clean and inspect: annually, same as inland — with extra attention to edge restraints for salt corrosion
- Reseal: every 18 months, not 2–3 years
- Base check: every 5 years, same as inland
Inland properties west of I-95 run the standard intervals. If you can consistently smell the ocean from your driveway, put yourself on the coastal schedule.
The Full Paver Maintenance Vocabulary — What Each Task Actually Means
The calendar above is the schedule; here’s the plain-English glossary of the seasonal maintenance and routine care terms that show up in every good paver care guide, so you can talk to any contractor about your paver patio, paver driveway, or pool deck without translation:
- Seasonal maintenance — the tasks that shift with the calendar (dry season vs wet season vs hurricane loop). A proper seasonal paver plan on the coast is different from an inland one; the schedule above covers both.
- Routine maintenance / regular maintenance — the everyday habits that protect your investment: sweeping, hose-rinse, weed pulling, and a leaf blower pass in shaded pool deck areas to keep organic debris from staining the paver surface.
- Maintenance schedule / maintenance tips / care guide — three names for the same idea. The maintenance tasks below are what “consistent care” looks like in practice on a South Florida paver patio.
- Root systems and weed growth control. Weeds seed year-round in South Florida — every season is growing season. Full-strength polymeric sand in the joints is the single biggest deterrent; hand-pulling early beats herbicide. Root systems from adjacent trees can lift pavers over time; if you see one paver rising, trace it to the nearest tree.
- Stain removal / best practices. Fresh stains on a sealed paver come out in minutes with soap and water; the ones that require restoration-grade extraction are the ones that sat all summer. Best practices: catch stains within a week, use paver-safe cleaner, never let a rental pressure washer within 12 inches of your joints.
- Concrete pavers vs permeable paver systems. The maintenance calendar is nearly identical, with two exceptions: permeable pavers require additional care around the joint aggregate (vacuum every 2–3 years to keep infiltration working), and concrete pavers benefit more from sealing than most natural stone alternatives.
- Hardscape / hardscaping / outdoor living space — the umbrella terms. Every driveway, paver patio, walkway, and pool deck on your property is part of one hardscape system; the paver maintenance schedule should cover it as one, not as separate pieces.
If any specific maintenance task on your property doesn’t map cleanly onto this glossary, it’s likely a repair issue rather than a maintenance one — see the warning signs below.
Warning Signs That Break the Calendar
The paver maintenance calendar is a planning tool. Some findings override it and require immediate action regardless of what month it is:
Sunken sections or paver settlement. A depression of more than half an inch, especially one that holds water, is base failure — not a maintenance issue. Call a professional; do not seal, re-sand, or pressure wash the area. The next reseal has to wait until the base is fixed.
Cracked pavers. Individual cracked pavers can be swapped out (that’s why keeping a small stash of matching replacements from the original job is worth doing at installation). Widespread cracking, especially in a pattern, means base or load issues underneath. Assessment before any surface work.
Aggressive mold or algae growth that returns days after cleaning. This means the sealer has failed and biological growth is now rooting into the open pores of the paver itself. The reseal is overdue, and the next one needs to be preceded by a proper algaecide treatment during the deep clean phase.
Joint sand loss across most of a surface, not just isolated joints. Widespread loss means the sealer’s grip on the joints has failed entirely. Bring the reseal forward.
White haze appearing after a reseal. This is a sealer failure — usually a non-breathable product, or a breathable product applied over damp pavers. Do not add more coats hoping to cover it. Call the contractor who did the work; the fix is chemical stripping and re-sealing correctly.
Any of these overrides the calendar. Everything else — the monthly walk, the quarterly rinse, the annual clean, the biennial reseal, the five-year base check, and the hurricane loop — is the maintenance system that keeps a South Florida paver surface looking like the day it was installed for a decade or more.
That’s the whole calendar on one page. If you’d rather have us walk your specific property and mark up an address-specific version — coastal/inland call, current reseal-due date, items to fix before the next cycle — we do free on-site assessments across Palm Beach and Broward County. Licensed CILB #U-22487, and an honest “you’ve got another year” when that’s the truth.